
Draw the Actual Room
Create irregular shapes and include openings, obstacles, cutouts and angled walls in the measured floor outline.
Plan the actual tile layout before you start. Draw your room, choose tile size, joint width and pattern, then position the layout to check cuts, centering, quantities and box counts.
CalcuFloor is a tile layout planner first. Build the room, choose the tiles and pattern, then adjust the generated layout until the joints, cuts and quantities work for the real floor.
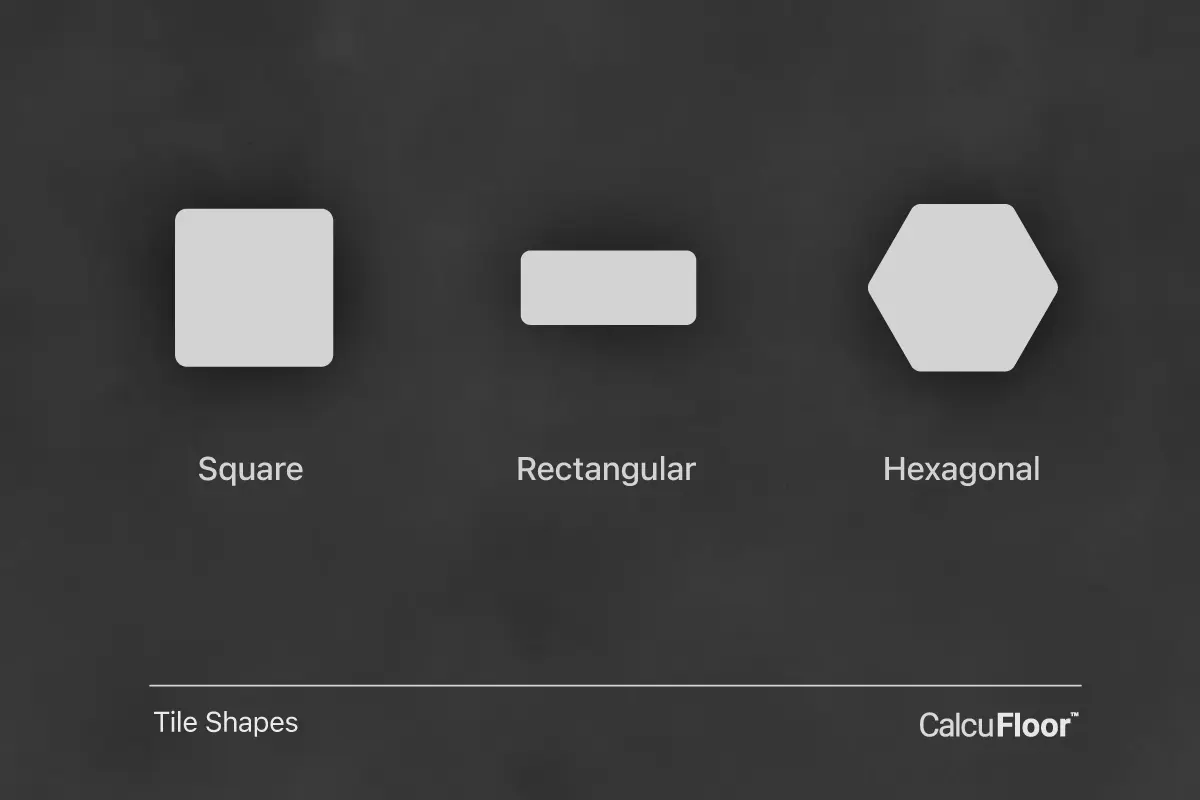
Draw the measured outline, including irregular shapes, openings, obstacles and angled walls. Then enter the real dimensions for square, rectangular or supported hexagonal tiles instead of reducing the floor to one square-footage number.
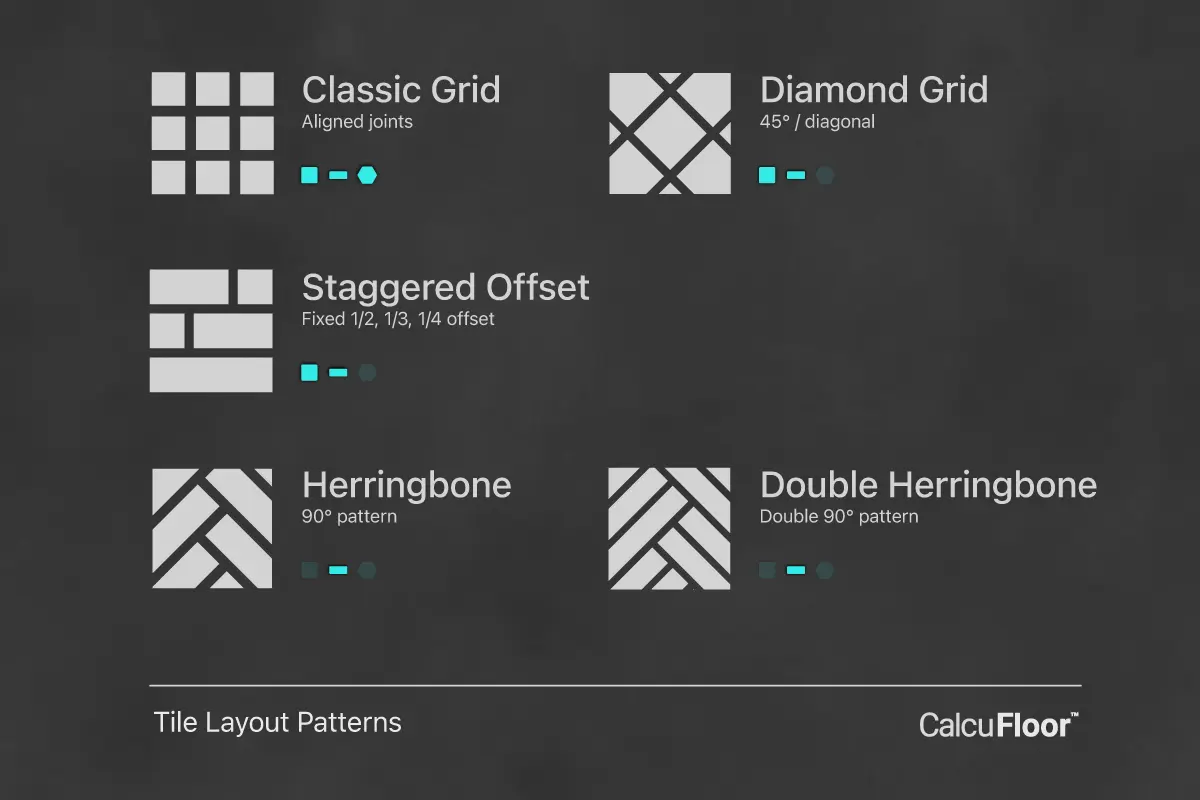
Compare straight or grid, offset or staggered, and diagonal or diamond layouts on the actual room. Check how each pattern finishes at walls, thresholds and openings before committing to it on site.
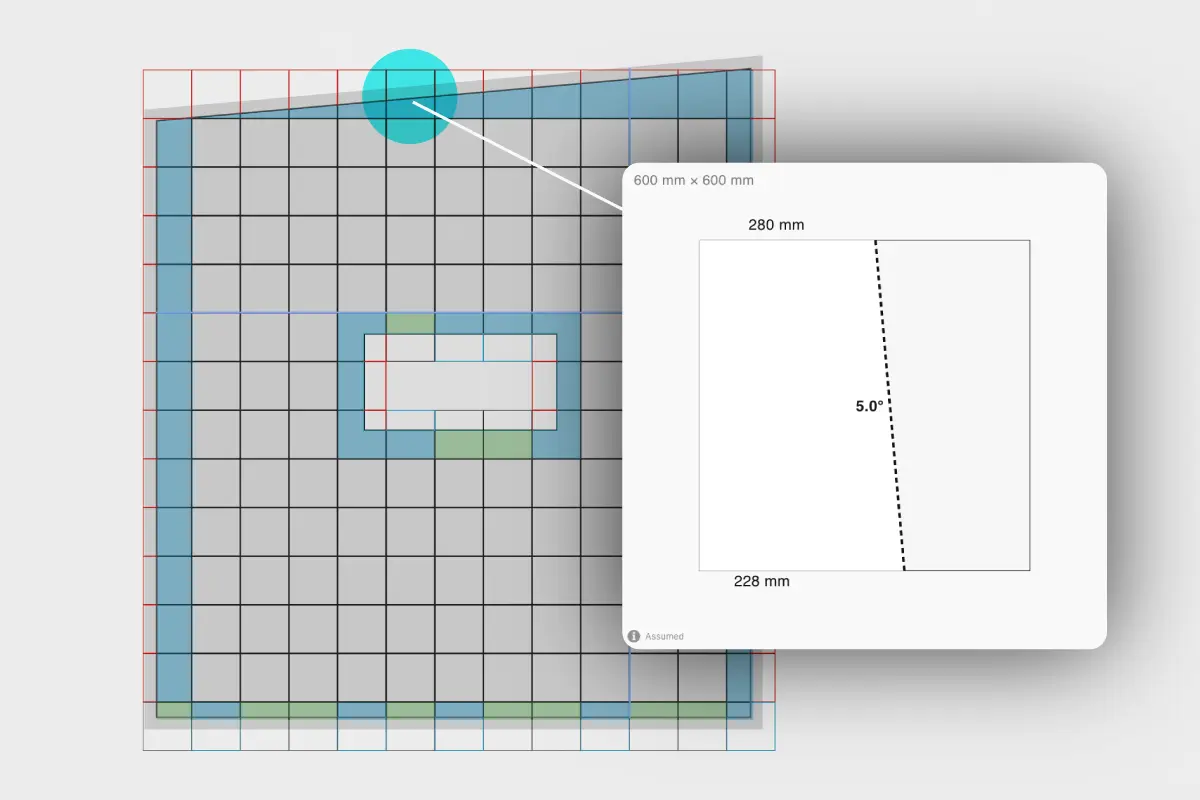
Shift the starting position and see where joints land across the room. Compare perimeter cuts at opposite walls, openings and transitions so you can avoid narrow slivers before the first tile is cut.
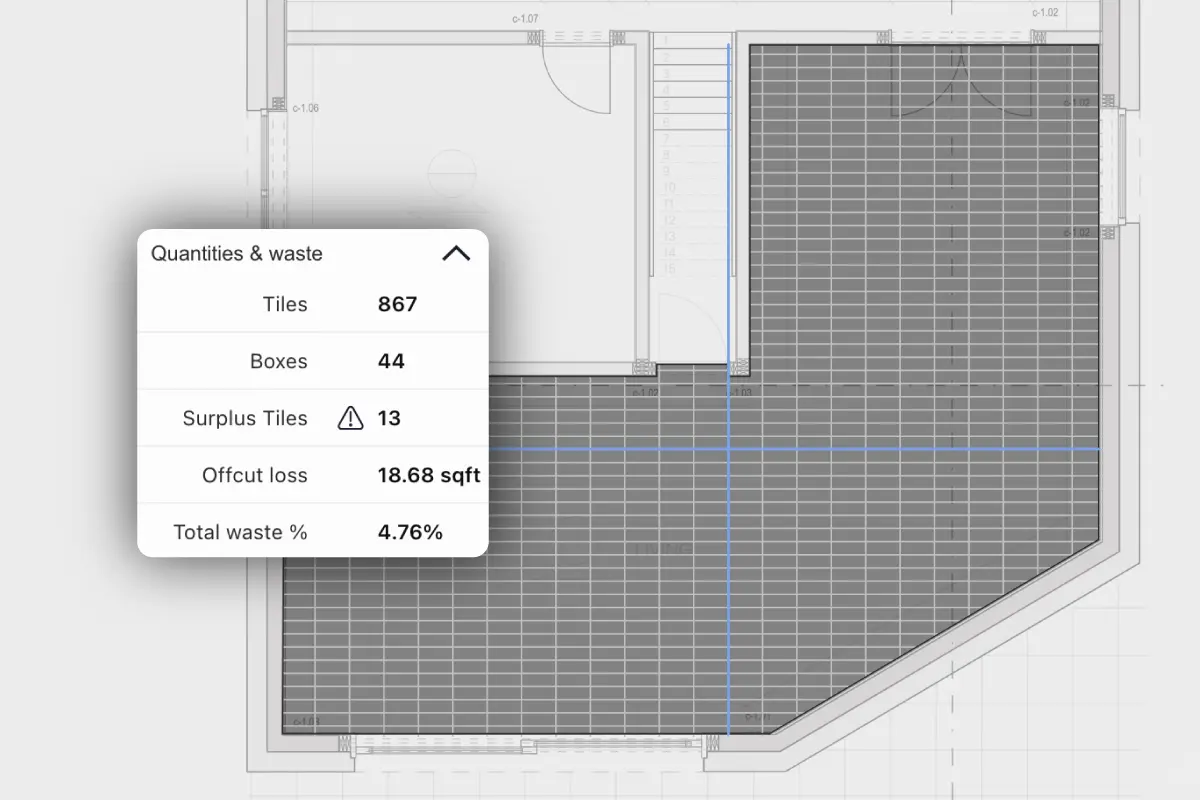
Tile count, box count, grout, surplus and material cost update from the generated layout, including joints and edge cuts. The result follows the plan you intend to install, not an area-only estimate plus a generic waste percentage.
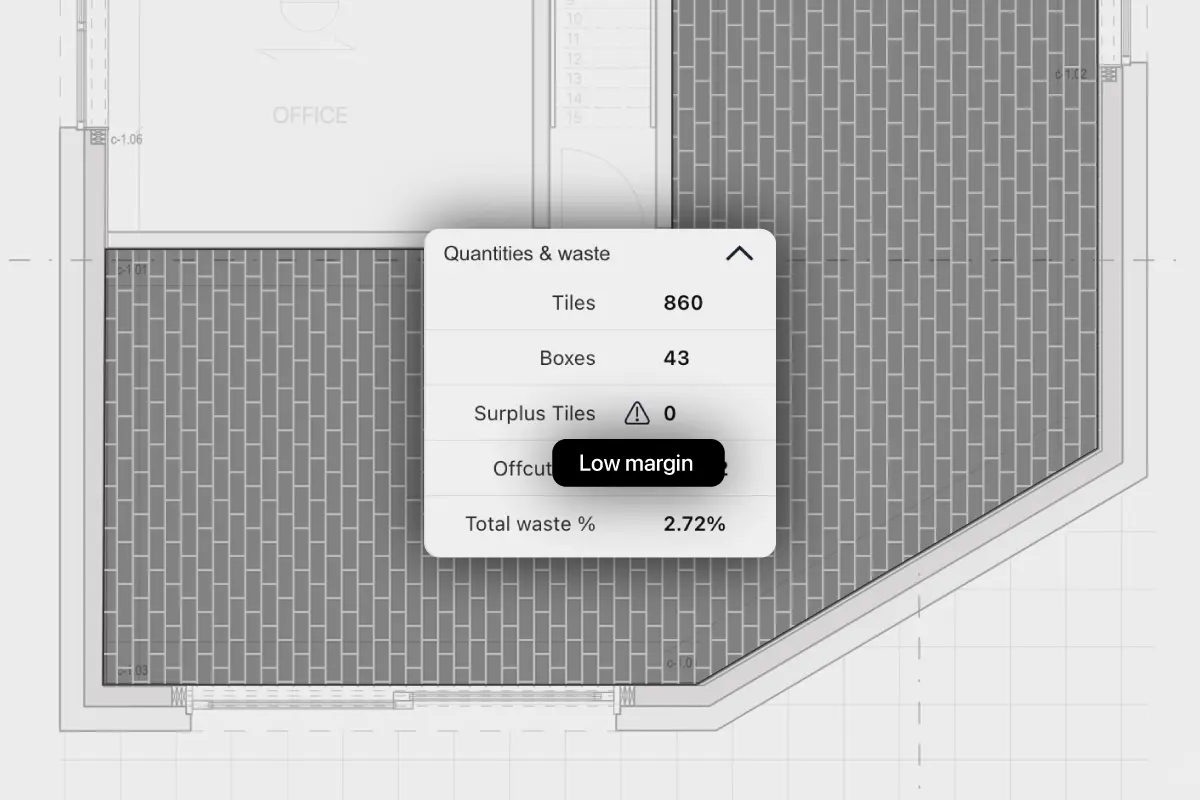
Inspect the actual cut pieces created by the plan and see the surplus left after full boxes are counted. A low-surplus warning helps you add a deliberate buffer for breakage, mistakes or unexpected site conditions before you order.
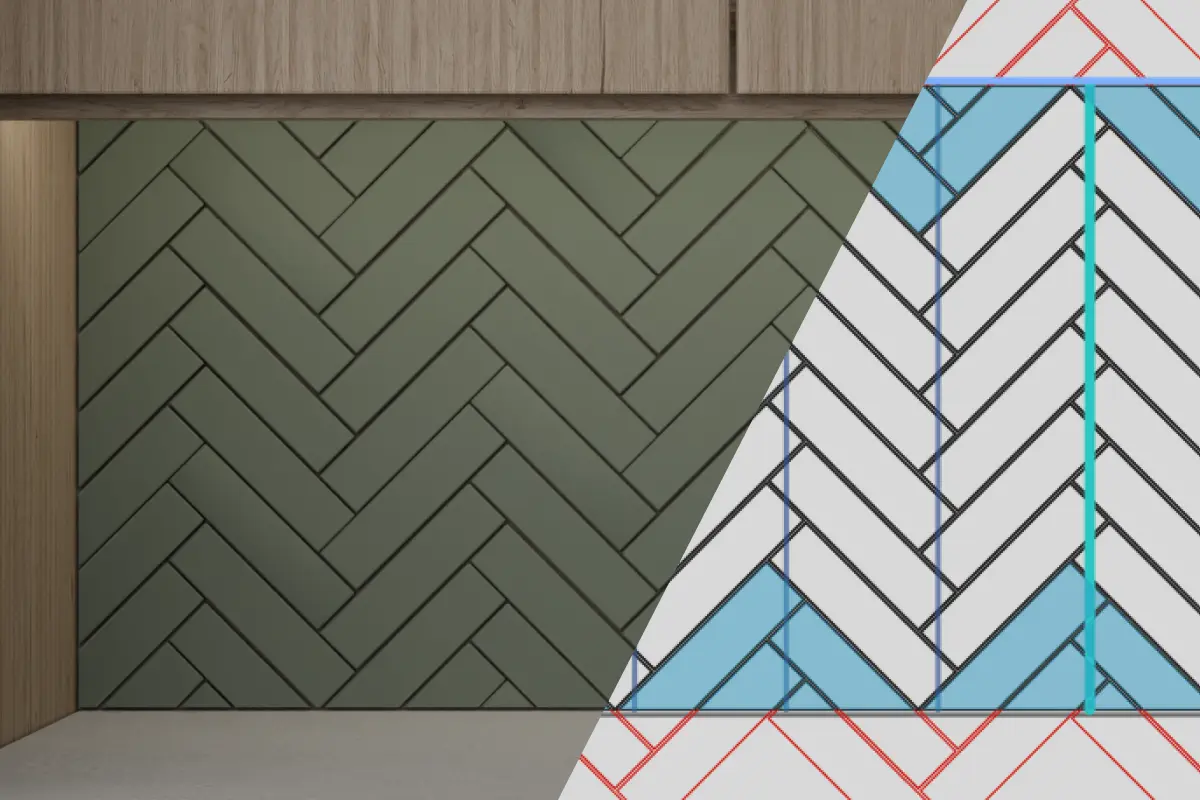
When the plan is ready, generate a report with the room shape, tile layout, cut details, piece and box counts, surplus and material totals. Use the report to review the plan before ordering, quoting or installation.
Every decision is checked against the generated tile layout, not an area-only formula.
Create irregular shapes and include openings, obstacles, cutouts and angled walls in the measured floor outline.
Compare straight, offset and diagonal layouts with square, rectangular and supported hexagonal tiles.
Move the starting position, see where joints land and compare the cuts at walls, transitions and openings.
Inspect the actual cut pieces created by the layout, including cuts around complex edges and obstacles.
Calculate tiles, boxes, grout, surplus and material cost from the plan you intend to use.
Generate a report with the layout diagram, cut details, quantities, box counts, surplus and material totals.
How to plan the layout first, then use it to calculate materials.
Draw the room, position the tile layout, inspect the cuts, then calculate the order.
Use the tile layout planner and calculator, compare the plank flooring layout calculator, review how the layout is generated, and check pricing and plan limits.